To do: Add in lighting, reflectors, lenses, speed lights, focusing stages, silk, filters, texture, how to deal with wind, problems and solutions.
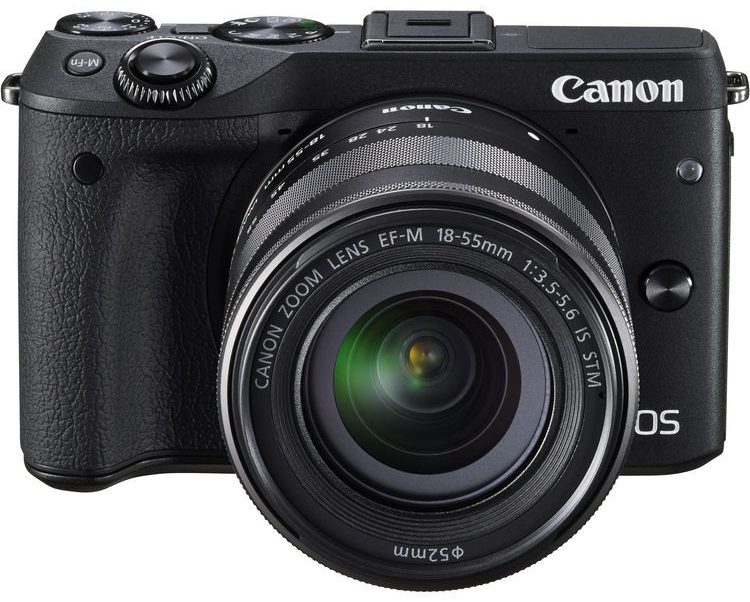
The M system is an amazing system for macro photography. Macro Photography is taking photos of flowers, bugs, coins, stamps, stuff you want to sell on ebay, anything, up close. The M system is great for macro photography! The flip up screen, wired or wireless remote, 28mm macro all make for a great macro setup.
Lenses
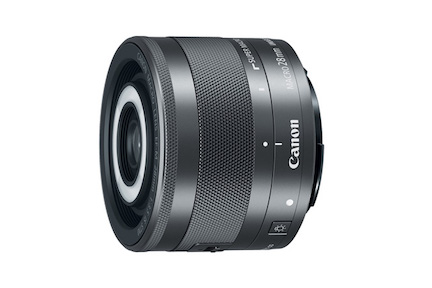
There are two lenses I recommend. The native EF-M mount 28mm f/2.8 macro and the EF-S 60mm f/2.8 Macro USM Lens. The 28mm lists for $299. The 60mm lists for $349 and you’ll need the EF-M to EF adaptor to fit it to your M camera. I recommend buying the 28mm first and then the 60mm second. Both focal lengths 35mm equivalents are 45 and 96mm are perfect for macro photography. There are other Canon Macro lenses including a EF-S 35mm f/2.8, an EF 50mm f/2.5, 100mm f/2.8, and a 180 f/3.5. If you have an EF-S or EF mount camera body then you can consider these lenses, but for an M system, the 28 and 60 are perfect. There are some great deals out on ebay, offerup, and cl so keep an eye out. I picked up a like new 60mm for only $145!
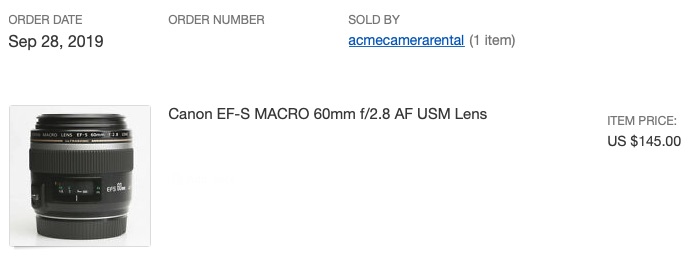
The 60mm EF-S macro is so designated because it can focus to 3.66″ and has a maximum reproduction ratio of? 1.2X in Super Macro Mode. It’s lighter than I expected and the 96mm full frame equivalent field of view makes it my 100 f/2.8 equivalent in a much smaller and cheaper package. You do have to use an adaptor.
The 28mm EF-M macro is so designated because it can focus to 3.66″ and has a maximum reproduction ratio of? 1.2X in Super Macro Mode. A unique feature is the built in LED lights. These lights are especially useful for a lens that is only 3-4″ away from it’s subject since it’s difficult to illuminate something that close to the lens with an on camera flash or even an off camera flash.
What makes a macro lens a macro lens? Two main features: 1) Close focusing capability and an optical design optimized for performance when close focusing. 2) A maximum reproduction ratio of 1:2 or greater. What does this mean exactly? (blah blah explain and show pix and why it’s important.)
Speeds are generally f2.8 or slower and stop down to f/22 or even f/32 on some lenses.
Macro lenses will have a minimum focus distance from 3.6″-12″. The EF-M 28mm will focus as close as 3.66″ in Super Macro mode and 3.81″ in Macro mode. This is pretty close. Several EF-M lenses have macro or close focusing capability. The 11-22 CFD (closest focusing distance) is 5.9 in/0.15m, the 18-55 is 9.84 in/0.25m. (show pix that explains the two specs and why you shouldn’t confuse them)
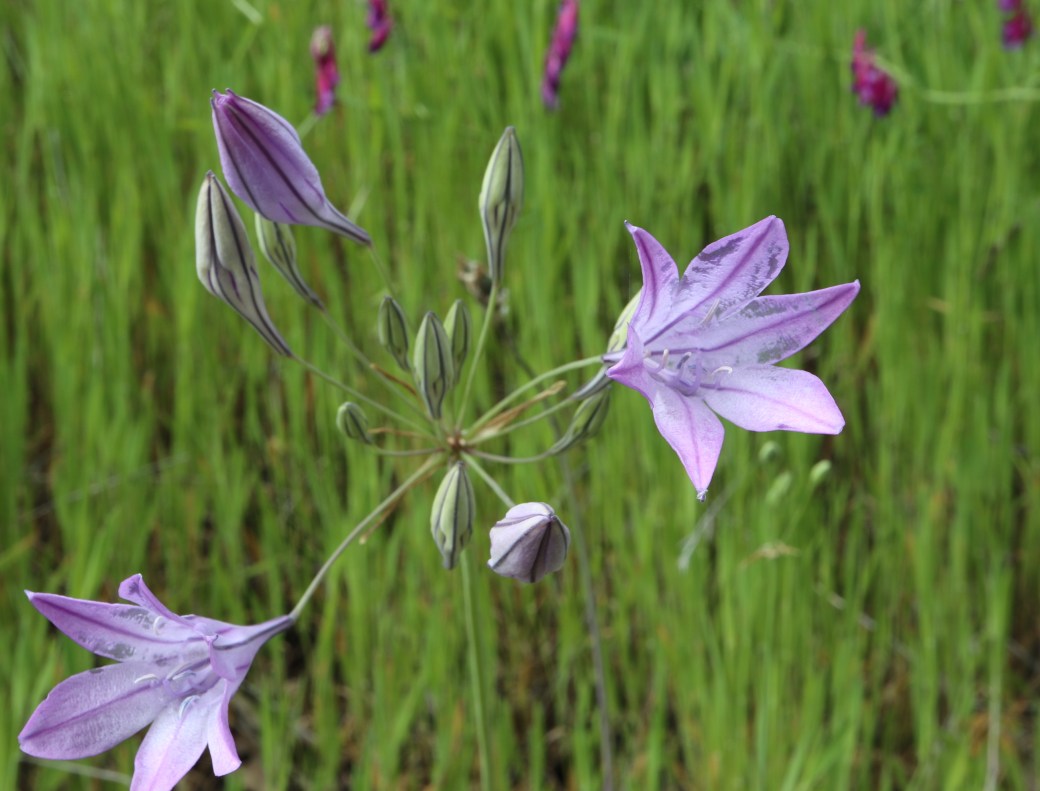
Little Yosemite – In Sunol, Ca on April 2017 I shot the flowers below with a Canon EOS M6, f/16, 1/13 sec, 28mm, ISO100 with the left and right lights on. This setup produced the image below. The 28mm and the built in lights is so cool. I highly recommend trying it out. At $300 this lens is a steal, even at full retail. If you are deciding between a 22mm at $249 and a 28mm at $299, I recommend the 28mm. It has Image Stabilization making it a better walk around lens, and also has macro capability if you need or want it. 22mm APS is a great focal length. 28mm APS may seem too long for a wide angle or too short for a telephoto, but I got a lot of nice shots with it.
Macro photography is difficult. Wind moves the flowers. Bugs don’t stay still. A tripod and head are much more difficult to get in just the right position compared to a landscape. These are the three variables that are difficult to control and patience is required. Lighting is a different animal altogether. With a landscape and tripod, you can just do a long exposure. With macro shots, a long exposure increases the chance that the insect will move or the flower will get blown by the wind leading to a blurred subject.
Lighting – The magic hours of 30 min before to after sunrise and sunset still apply, but macro shots like these can be done in the middle of the day with something blocking direct sunlight. Your body, jacket, hand, or car window shade can all be used to block direct or reflected sunlight. Reflectors, aluminum foil, and the built in led lights of the 28mm are all very useful to increase illumination.
Macro photography requires seeing differently. Instead of wide landscapes or a telephoto shot of an animal far away, macro requires spotting things on a hike that would look good in a close up shot. This requires seeing differently on the same hike through a national park or your own backyard. This takes practice and patience. Don’t get frustrated if you aren’t good at it during your initial attempts.
Macro photography requires patience. Wind, changing light, moving bugs, difficult terrain to get your tripod set up, can all contribute to a frustrating day of shooting. Keep at it and you’ll end up successful.
Focusing is best done manually using focus peaking. This is one of the coolest features of the M line, along with the flip up screen. The screen allows you go put the camera at the ground level but you don’t have to get down that low to see the LCD. To use Focus Peaking, blah blah
Macro photography doesn’t require a lot of equipment. The tripod that I love so much the Sirui T-025X isn’t adequate to get down low since it’s center column is about a foot high. (oddly specs say minimum height is 4.1″ but I think it should read 14.1″ …) I had to use my camera bag for this shot. However, the first thing to do is to take some close up shots with your 18-55mm. After that, buying and using the 28mm, trying out the lights, might be all you need.
Joshua Tree National Park
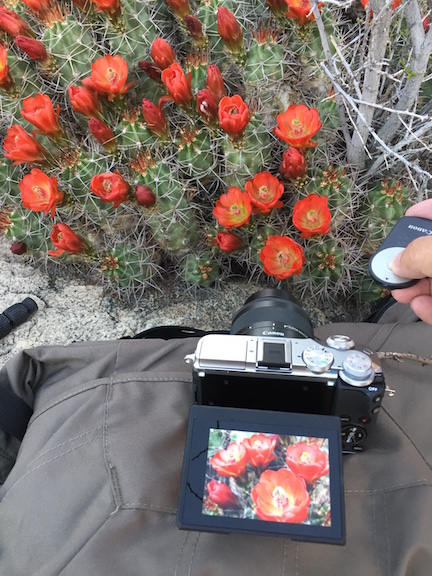
Accessories for macro shooting: A bean bag, just a sock filled with beans can be a great camera support for close ups where a tripod is too difficult or big to get into the space. One of the most important landscape and macro accessories is the RC-6 Wireless Remote. It keeps your shadows out of the frame and prevents any camera shake. It’s also great for selfies. It’s in my fingers in the shot below:
The M5 and M6 both have a port for the RS-60E3 wired remote. I’d recommend getting both wired and wireless remotes if you plan to do a lot of macro or landscapes.
You can buy as much or as little equipment as you want. A tripod, bean bag, remote release, and the 28mm Macro are all you need to get started. The 18-55mm will work to see if you like shooting close ups. If you do I recommend the macro lens due to the reproduction ratio and LED lights.

The set up above: Canon M6, RC-6 Wireless Remote, 28mm Macro, and a twig to level the camera on my camera bag: ISO 100, f/8, 1/4 sec produced the image below:
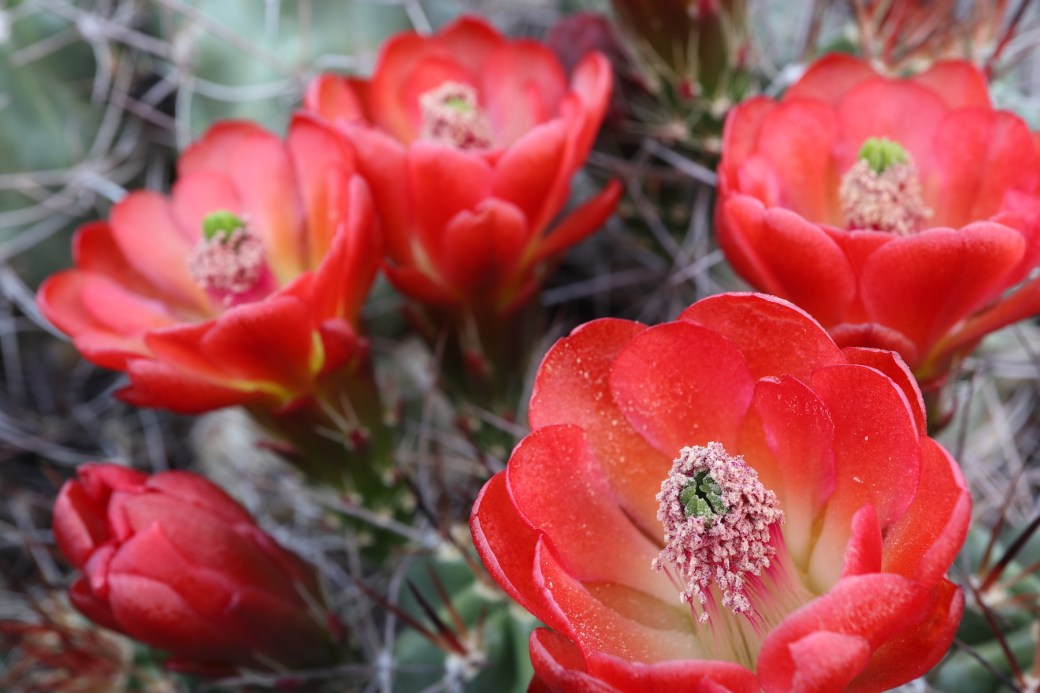
I had never seen a cactus flower until this year. California got so much rain the desert was a totally different place. I spotted these flowers in Joshua Tree National Park in April 2017. If you like the desert environment Joshua Tree National Park is amazing and worth the drive
“Can’t I just shoot handheld? The lens has IS after all.” Using a tripod isn’t just for lens shake or blur, it’s also to help you get consistent results and framing. The tripod helps you slow down, think, and look at what you’re doing. Tripod use allows long shutter speeds if necessary, apertures of f/8-f/22, ISOs of 100 or lower, all settings necessary for maximum sharpness. Shooting handheld is a last resort for macro or landscapes that you think you’ll want to print 12×18 or larger. It’s a hassle to carry and use a tripod but well worth it. You can shoot handheld for web pix, but you’ll be disappointed when you blow up to 12×18 or 24×36 and you see blur. A tripod or other support is one of 6 techniques for sharp images shooting landscapes and close up. ISO 100, f/8-f/22, a remote, proper focus and depth of field, and good lighting, are the other five.
Notes/tips:
- Shoot a wide, wider, widest shot of the macro shot so we can contextualize the area around the up close macro shot. You can do this with your iPhone.
- Experiment with what is in focus, but the closest item to the lens should generally be in focus. In the shot above, if one of the back flowers was in focus but not the front, wouldn’t that look odd?
- Experiment with the LED lights to get the ideal lighting. Sometime turning them off works fine.
- Use focus peaking and manual focus to get what you want in focus.
- Adjust the color of the peaking to the highest contrast so you can see what’s in focus easier. For the shot of the cactus flowers above I knew not to set the color to red.
